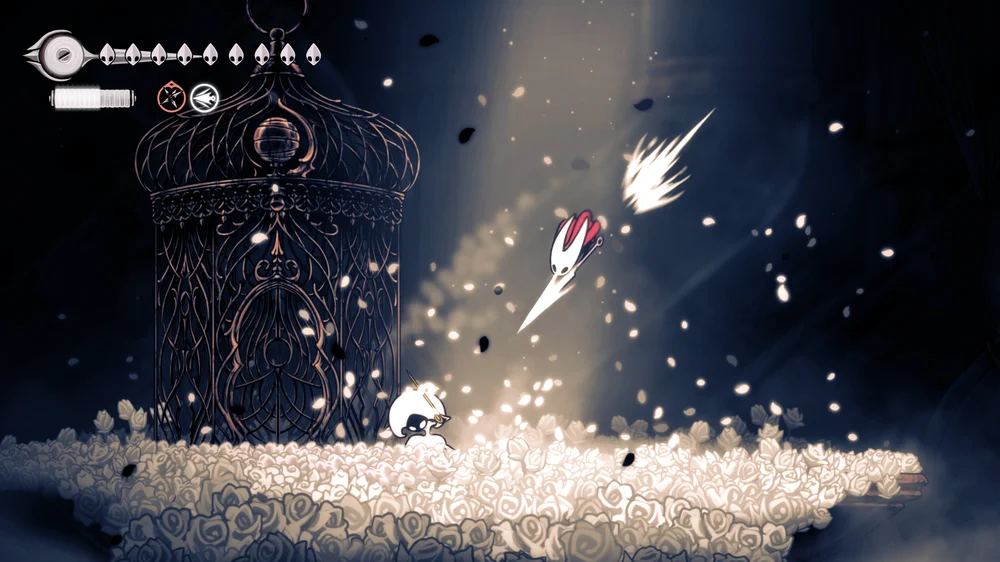
Choose for your current problem
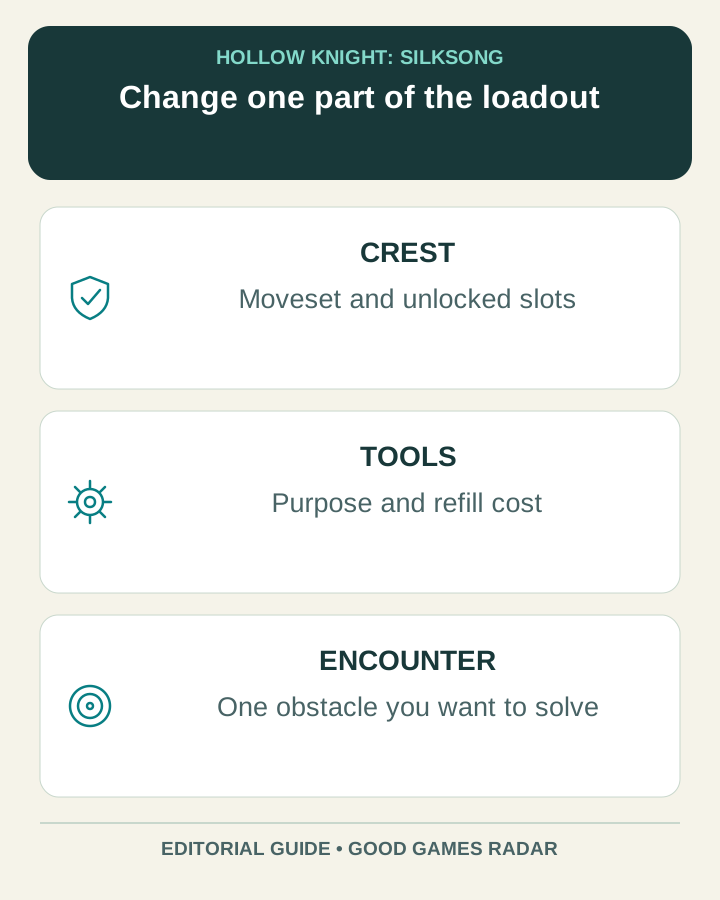
A crest changes the way you approach combat and tool equipment. Treat a build as a combination of the crest you have unlocked, the tools you can equip and the encounter you want to improve. A recommendation is not useful if it assumes upgrades you do not own.
Source: Hollow Knight Wiki · Reaper Crest
A crest comparison worksheet
| Check | Write down |
|---|---|
| Moveset | The attack direction or timing that helps or hurts you. |
| Available slots | The slots actually unlocked on this save. |
| Equipped tools | The purpose of each tool, not just its name. |
| Refill cost | What is consumed when you repeat the encounter. |
| Survival | How reliably you can create a safe opening. |
Test a change without changing everything
- Keep one familiar encounter as your comparison point.
- Try the new crest with a small set of tools you understand. Learn its basic attack behavior before adding a complicated combination.
- Record whether failure came from movement, attack timing, resource depletion or an unmet prerequisite.
- Change one part of the setup to address that problem. Keep a note of your previous loadout so you can return to it.
A specific source example: Reaper
The community Reaper Crest entry provides a named reference for this crest rather than a universal best-build ranking. Team Cherry’s patch history also changes individual tools, so compare a tool’s current text with the version used by a build guide. No damage multipliers or slot counts are invented here.
Source: Hollow Knight Wiki · Reaper Crest · Team Cherry · Patch 5
Continue with this game
Sources & scope
This article uses the official and individually identified community references linked below. It is not a hands-on review. Screenshots are credited to their original publishers; they are not evidence that we tested these steps. Game details can change after publication.
Sources checked: 21 Oct 2026. Read how we use sources and AI assistance.